> For the complete documentation index, see [llms.txt](https://docs.scrt.network/secret-network-documentation/llms.txt). Markdown versions of documentation pages are available by appending `.md` to page URLs; this page is available as [Markdown](https://docs.scrt.network/secret-network-documentation/development/readme-1/fullstack-dapp-integration.md).
# Fullstack dApp Integration
Learn how to write a full stack decentralized React application utilizing a Secret smart contract and Secret.js
## Millionaire Problem Decentralized Application
Yao's Millionaires' problem is a secure multi-party computation problem introduced in 1982 by computer scientist and computational theorist Andrew Yao. The problem discusses two millionaires, Alice and Bob, who are interested in knowing which of them is richer without revealing their actual wealth.
[The Secret smart contract](https://github.com/scrtlabs/MillionaireProblemTutorial/tree/master) we will be working with demonstrates an example implementation that allows two millionaires to submit their net worth and determine who is richer, without revealing their actual net worth.
[This is the source code](https://github.com/writersblockchain/fullstack-secret-millionaire) for the full stack application, [and you can use the live dApp at this web address](https://fullstack-secret-millionaire.vercel.app/) on Secret testnet.
{% hint style="info" %}
To interact with the dApp, you will need to have the Secret Testnet (pulsar-3) configured with your Keplr wallet and also fund it with testnet tokens. [Learn how to configure and fund your keplr wallet here](https://docs.scrt.network/secret-network-documentation/overview-ecosystem-and-technology/secret-network-overview/testnet#set-up-with-keplr)!
{% endhint %}
In this demo you will learn how to **integrate the Secret Millionaire contract with a front end designed in React using Secret.Js.** Let's get started!
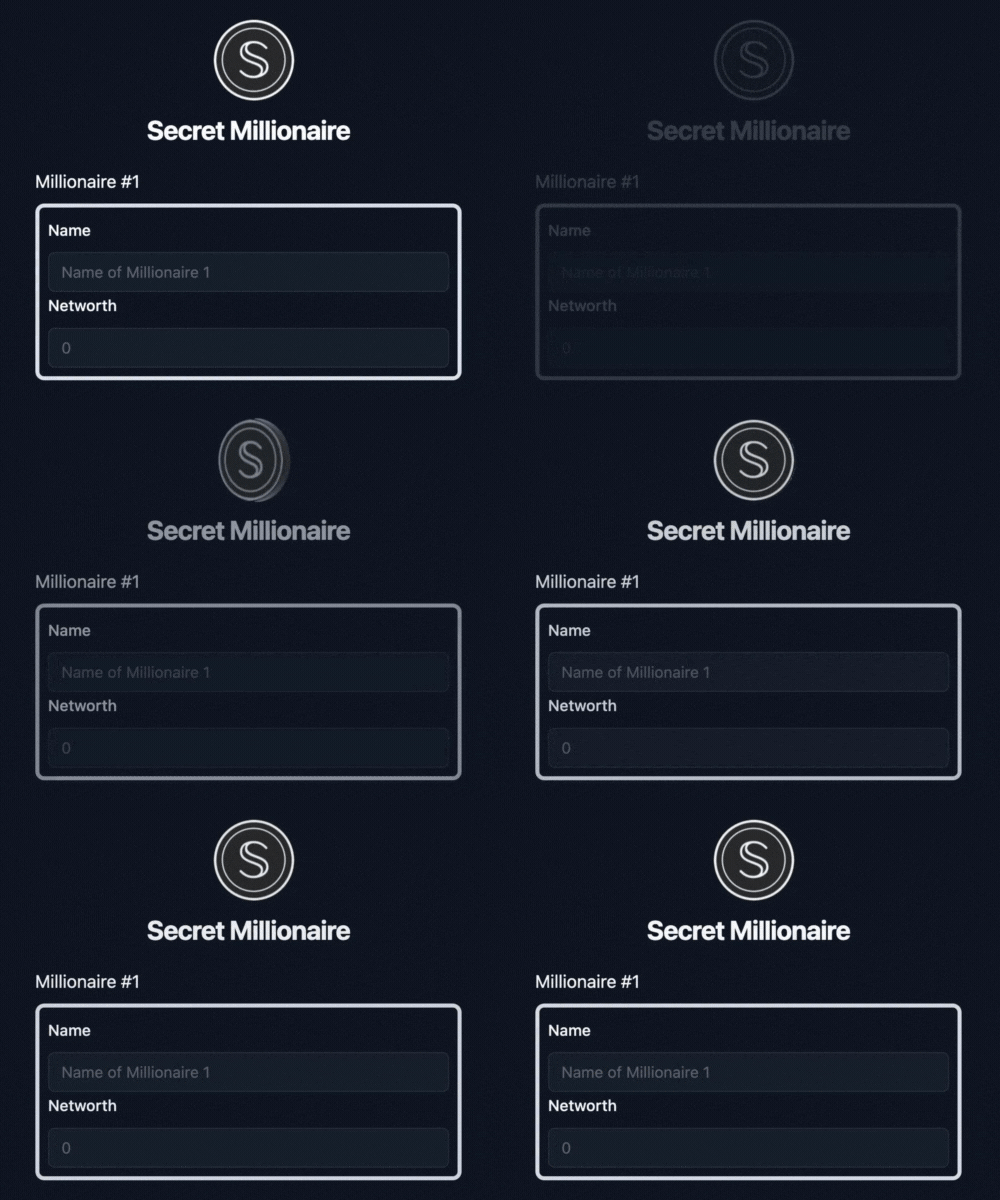
Completed React.js application
### **Frontend library overview**
This tutorial assumes that you've already learned how to [compile, upload, and instantiate a Secret smart contract](https://docs.scrt.network/secret-network-documentation/development/getting-started/interacting-with-the-testnet) to the Secret testnet and now you will learn how to connect your instantiated smart contract to a frontend library, namely, React.js.
Excluding the instantiation message, the Secret Millionaire smart contract is capable of executing three messages:
1. Submit net worth
2. Reset net worth
3. Query net worth
Thus, we need to design our frontend in an intuitive manner that will allow the user to execute these messages. By the end of this tutorial you will learn how to do the following:
1. Integrate Keplr wallet with React.js
2. Use secret.js to execute multiple transactions simultaneously (submit and reset net worth)
3. Use secret.js to query the updated Secret Millionaire smart contract
### Integrating Keplr Wallet with Secret.js
In order to execute the Secret millionaire contract, users must first be able to connect to their Keplr wallet. To see a generalized approach to connecting to Keplr wallet with Secret.js, you can [review the Secret.js docs here](https://secretjs.scrt.network/#keplr-wallet). However, for our application you will learn how to **connect to Keplr with React.js** so that the user's wallet can control every page of your app.
#### Connect Wallet function
Before we proceed, review the [`ConnectWallet(`](https://github.com/writersblockchain/fullstack-secret-millionaire/blob/0d7339e9388ac58323a94171914fe70e0e4cbd5b/react-millionaire/src/secretJs/SecretjsContext.js#L49)`)` function:
```javascript
async function connectWallet() {
try {
if (!window.:) {
console.log("install keplr!");
} else {
await setupKeplr(setSecretjs, setSecretAddress);
localStorage.setItem("keplrAutoConnect", "true");
console.log(secretAddress);
}
} catch (error) {
alert(
"An error occurred while connecting to the wallet. Please try again."
);
}
}
```
This function awaits [`SetupKeplr()`](https://github.com/scrtlabs/examples/blob/bc4676c4d3a644e3cc841384033ba1b7306250eb/secret-millionaire/react-millionaire/src/secretJs/SecretjsContext.js#L11C1-L47C4), an asynchronous function which enables Secret Network on Keplr, retrieves the user's account information from Keplr, creates a Secret Network client with this information, and then sets the `secretjs` instance and `secretAddress` with these details so that we can then share this data with the rest of our application. Notice that when we establish the Secret Network client with Secret.js we are also specifying the `url` and `chainId` of the client, which in this case is the `url` + `chainId` for Secret testnet:
```javascript
const chainID = "pulsar-3",
const url = "https://pulsar.lcd.secretnodes.com",
const accounts = await keplrOfflineSigner.getAccounts();
const secretAddress = accounts[0].address;
const secretjs = new SecretNetworkClient({
url: url,
chainId: chainId,
wallet: keplrOfflineSigner,
walletAddress: secretAddress,
encryptionUtils: window.getEnigmaUtils(SECRET_CHAIN_ID),
});
setSecretAddress(secretAddress);
setSecretjs(secretjs);
}
```
In fewer than 100 lines of code, you have the functionality to connect and disconnect a Keplr wallet and can now use this data in every other part of any dApp you choose to create.
{% hint style="info" %}
[**See the completed file here.**](https://github.com/scrtlabs/examples/blob/master/secret-millionaire/react-millionaire/src/secretJs/SecretjsContext.js) **CreateContext() is the React.js hook that allows us to share the Secret Network client (aka the user's wallet address) throughout the entire application.**
{% endhint %}
Now that a user can connect to our front end, let's write some functions with Secret.js that **execute the `submit_net_worth()` and `reset_net_worth()` functions.**
### Writing the Execution Messages
[The Secret Millionaire contract is designed](https://github.com/scrtlabs/examples/blob/bc4676c4d3a644e3cc841384033ba1b7306250eb/secret-millionaire/millionaire-contract/src/contract.rs#L45) such that when a millionaire's net worth is submitted, the contract saves the first two entries and then returns an error for subsequent attempts until a reset. The reset operation resets the contract's state back to its initial condition, where no millionaires are registered.
Because the Secret smart contract requires two millionaires to be submitted at any given time, it would be an improved UI experience if the user could submit two millionaires simultaneously, rather than having to execute two separate transactions. We are able to implement this functionality with Secret.js using [MsgExecuteContract](https://github.com/scrtlabs/examples/blob/bc4676c4d3a644e3cc841384033ba1b7306250eb/secret-millionaire/react-millionaire/src/secretJs/SecretjsFunctions.js#L2) and the `broadcast` method:
```javascript
let submit_net_worth = async (millionaire1, millionaire2) => {
const millionaire1_tx = new MsgExecuteContract({
sender: secretAddress,
contract_address: contractAddress,
msg: {
submit_net_worth: {
name: millionaire1.name,
worth: parseInt(millionaire1.networth),
},
},
code_hash: contractCodeHash,
});
const millionaire2_tx = new MsgExecuteContract({
sender: secretAddress,
contract_address: contractAddress,
msg: {
submit_net_worth: {
name: millionaire2.name,
worth: parseInt(millionaire2.networth),
},
},
code_hash: contractCodeHash,
});
const txs = await secretjs.tx.broadcast(
[millionaire1_tx, millionaire2_tx],
{
gasLimit: 300_000,
}
);
console.log(txs);
};
```
This function takes in two objects, each representing a millionaire, and sends their name and net worth to the Millionaire smart contract using the `broadcast` method of the `secretjs` library. This method accepts an array of transactions to send to the blockchain and an options object. In this case, the options object specifies a gas limit of 300,000, which is the maximum amount of computational work the transactions are allowed to perform before they are halted. Now let's use React.js to fire this function every time a user clicks on a button.
#### Creating onClick events for Secret.js transactions
The `handleSubmit` function is a handler for a form submit event in our React application. This function takes user inputs (names and net worths of two millionaires), submits this data to the blockchain, queries the richer millionaire, and updates the UI accordingly:
1. `e.preventDefault();`: This line stops the default form submission event in a web page (which would typically reload the page).
2. `setMillionaire1({ name: name1, networth: networth1 });` and `setMillionaire2({ name: name2, networth: networth2 });`: These two lines update the states of `Millionaire1` and `Millionaire2` respectively. `setMillionaire1` and `setMillionaire2` are state-setting functions from the useState React hook.
3. `await submit_net_worth({ name: name1, networth: networth1 }, { name: name2, networth: networth2 });`: This line calls the `submit_net_worth` function described above, passing two objects containing the names and net worths of two millionaires. It then waits for the function to finish.
4. `await query_net_worth(myQuery);`: This line calls the `query_net_worth` function and waits for the function to finish.
5. `setRicherModalOpen(true);` and `setShowRicherButton(false);`: These two lines update the states controlling whether a modal and a button are displayed in the UI. They hide a button and show a modal that presents the result of the `query_net_worth` function.
6. `alert("Please approve the transaction in keplr.");`: If any error is thrown during the execution of the function, it is caught, and an alert is shown to the user instructing them to approve the transaction in Keplr.
#### Resetting the smart contract state
`resetSubmit` resets the smart contract state back to 0:
```javascript
const resetSubmit = async (e) => {
e.preventDefault();
try {
await reset_net_worth();
setResetModalOpen(true);
setShowRicherButton(true);
} catch (error) {
alert("Please connect your wallet by selecting the wallet icon.");
}
};
```
### Writing the Query Message
Lastly, we need to be able to query the result of submitted transaction, namely, which millionaire is richer. This function queries the Millionaire contract to get information about who is richer among the previously submitted millionaires, stores the result in the `myQuery` array, and then we can display information stored in `myQuery` in our front end.
```jsx
let query_net_worth = async (myQuery) => {
let query = await secretjs.query.compute.queryContract({
contract_address: contractAddress,
query: {
who_is_richer: {},
},
code_hash: contractCodeHash,
});
myQuery.push(query);
};
```
1. First, we use the `queryContract` method of the `compute` module from `secretjs` library to send a query to the Millionaire contract. This method takes an object as its argument with the following properties:
* `contract_address`: The address of the smart contract to which the query is being sent.
* `query`: The query message to be sent to the contract. In this case, it's calling the `who_is_richer` method of the contract, which returns information about the richer of the two millionaires.
* `code_hash`: The code hash of the contract to ensure that the contract code hasn't been tampered with.
2. The result of this query is stored in the `query` variable.
3. The result of the query is then pushed onto the `myQuery` array. This array stores the results of all queries made so far, and we can display this on our React front end.
### Putting it all together
You now have all of the tools you need to create a decentralized full stack application on Secret Network. In this tutorial you learned how to write React.js functions to connect to Keplr wallet, submit simultaneous transactions and reset net worth data, and query a Secret smart contract for the wealthier party. If you have further questions as you continue to develop on Secret Network, **please** [**join the weekly Monday developer call on Discord**](https://discord.com/channels/360051864110235648/760903186067488779) **at 1pmET.**
---
# Agent Instructions
This documentation is published with GitBook. GitBook is the documentation platform designed so that both humans and AI agents can read, navigate, and reason over technical content effectively. Learn more at gitbook.com.
## Querying This Documentation
If you need additional information that is not directly available in this page, you can query the documentation dynamically by asking a question.
Perform an HTTP GET request on the current page URL with the `ask` query parameter, and the optional `goal` query parameter:
```
GET https://docs.scrt.network/secret-network-documentation/development/readme-1/fullstack-dapp-integration.md?ask=&goal=
```
`ask` is the immediate question: it should be specific, self-contained, and written in natural language.
`goal` is optional and describes the broader end goal you are ultimately trying to accomplish on behalf of the user. GitBook uses it to tailor the answer towards what is most useful for that goal.
The response will contain a direct answer to the question and relevant excerpts and sources from the documentation.
Use this mechanism when the answer is not explicitly present in the current page, you need clarification or additional context, or you want to retrieve related documentation sections.